
From a security perspective opening up your DSM (the operating system of the Synology NAS) to the internet is not good practice. It is best to connect to your DSM via a VPN connection. However if you do open up your DSM to the internet, make sure you have secured your DSM properly. Which means:
- Disable the standard Admin account
- Create a strong password for your custom admin account
- Limit all other users in what they can reach
- Enable 2-Factor Authentication on your administrator account
- Connect to the DSM only over HTTPS and with a certificate
- Enable auto blocklist and DoS protection
Setup up proper administrator account
The first step is to create an alternative administrator account, preferably without the word admin or administrator in it. Use a character from your favorite book, series or movie. Use also a strong password for that account (minumum 12 character, with letters numbers and special characters). You can enforce this rule in control panel > File Sharing > User & Group > Advanced, check Apply password strength rules. At least check “Exclude name and description of user from password”, and have a minimal password length. These settings will be applied to all users that you create.
Under control panel > Connectivity > Security > Account you can enable for whom 2-factor Authentication is mandatory. At least you should enforce it for “Administrator group users”. Whenever you now create an administrator, he needs to setup 2-factor authentication. Any authenticator app can be used.
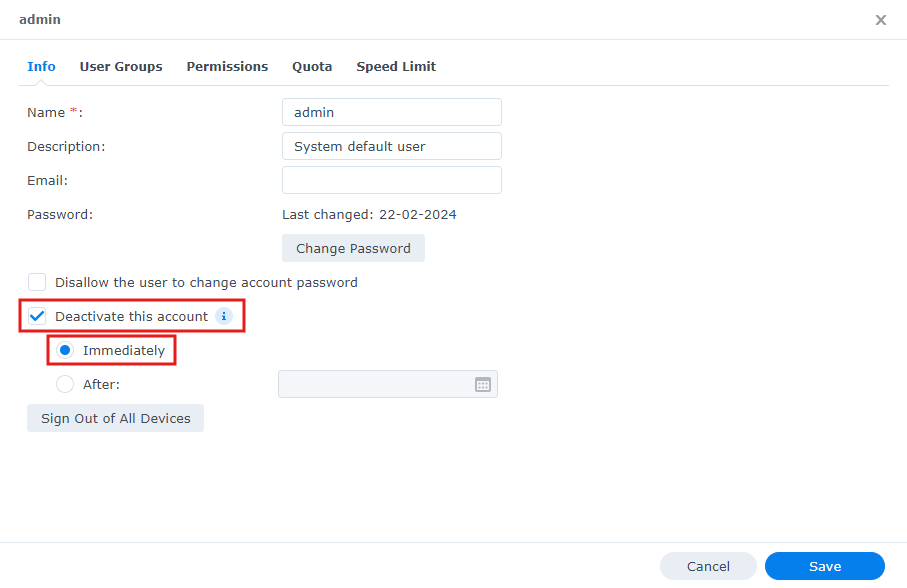
After you have setup the alternative administrator account you can disable the standard admin account. You can’t delete the admin account. Go to control panel > File Sharing > User & Group > User click on “admin” and then on “Edit”. In the next screen check “Deactivate this account” and check “Immediately”.
Secure the connection to the DSM
When you go to Control Panel > System > Login Portal > DSM you can check “Automatically redirect HTTP connection to HTTPS for DSM desktop.” This will ensure that your connection to the DSM is alway via HTTPS. HTTPS creates a secure connection to your DSM, which means that the communication to your DSM via the webbrowser is encrypted.
You can also enable HSTS, which forces the browser to use a secure connection. Be careful, if you don’t have a valid certificate for your connection you cannot reach your DMS anymore! To enable HSTS you would first need registered domain name, this could be a subdomain name of your regular domain. Once this is enabled you can generate a certificate for that name. Go to Control Panel > Connectivity > Security > Certificate and click on “Add”. You can create a new certificate, give it a descriptive name and use Let’s Encrypt to generate the certificate.
Once you have enabled the certificate and you are sure it works by connecting to your DSM via the registered subdomain name and see that it has a valid certificate. If it is working then you can enable HSTS. The browser will now only connect to the DSM if the connection goes via HTTPS and there is a valid certificate.
Enable automatic blocklist
Whenever someone tries to login with brute-force (trying random login names and passwords, or using leaked lists of user names and passwords) the Synology NAS can automatically either permanently or forever block their IP address. Go to Control Panel > Connectivity > Security > Protection and check “Enable auto block”. You can leave the standard settings of 10 attempts within 5 minutes. You can enable block expiration, but I would advice against it. A hacker trying to get in cannot come back after a few days and then try again because his IP address is cleared from the blocklist.
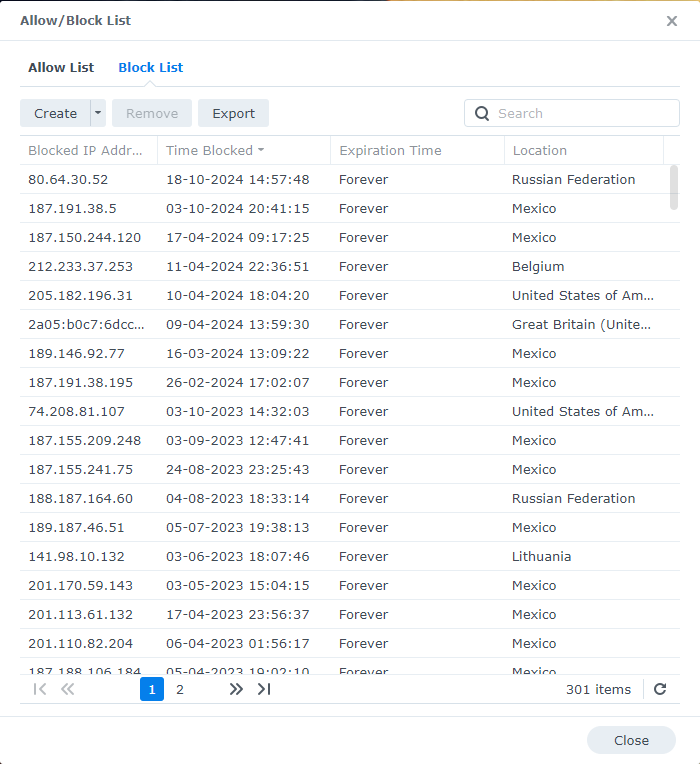
It is advisable to allow your home network to be on the “Allow list”. That would prevent your home computer or laptop from getting blocked when you have forgotten your password or other issues with logging in. You can also check which IP’s have been blocked by clicking on the “Block List”. Here is an example:
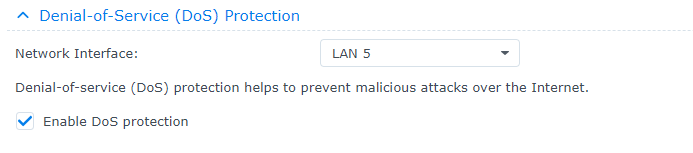
You can also protect yourself from DoS attacks. Those are attacks where your connection is bombarded with requests and your connection is basically blocked. On the same page as to enable the auto block you can enable the DoS Protection on the LAN that you use to connect to the internet.
Firewall settings
Lastly you can enable the firewall on your NAS. Even though if you have a good firewall on your router or if you only have an IPv4 internet connection then NAS will protect you from most connection. However you cannot be sure enough and it is good to enable the firewall. Make sure you let in the proper ports so you can reach your NAS still.